We may earn revenue from the products available on this page and participate in affiliate programs. Learn more ›
_
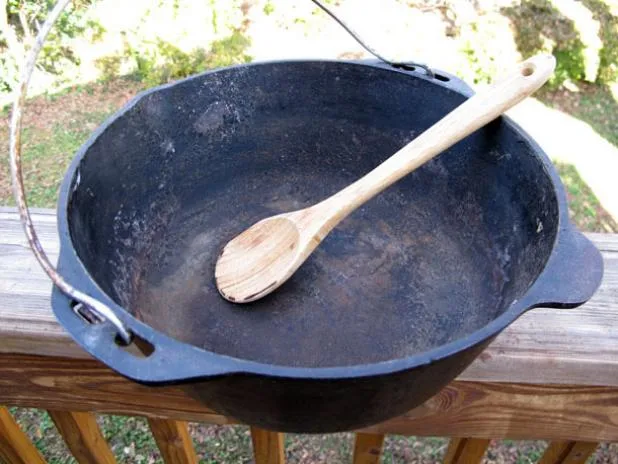
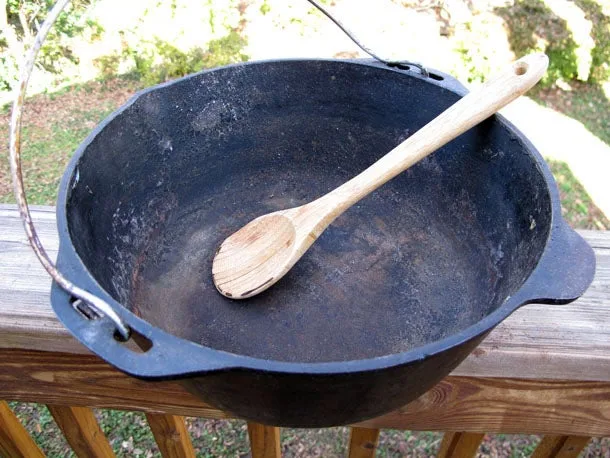
| A poorly treated, maybe even abused, cast iron dutch oven ready for restoration. T. Edward Nickens |
Shameful. That’s the word.
This is my beloved Dutch oven––final resting place of many a piece of venison, ducks, and Mexican casseroles cooked on many a campfire. But after frying up three squirrels a few weeks ago, I took up blasphemous behavior. I let this cast-iron pot sit too long before cleaning, then I cleaned it poorly, and then I ignored my baby. It wound up with a rusted patina in place of the well-seasoned, non-stick sheen I’d worked years to foster.
This pot should be taken from me––physically removed and placed in a foster home for abused cast-iron cookware awaiting an environment in which love and care are ever present.
Instead, I am going to restore it, and therewith, restore a bit of my own blackened soul.
Start Cleaning
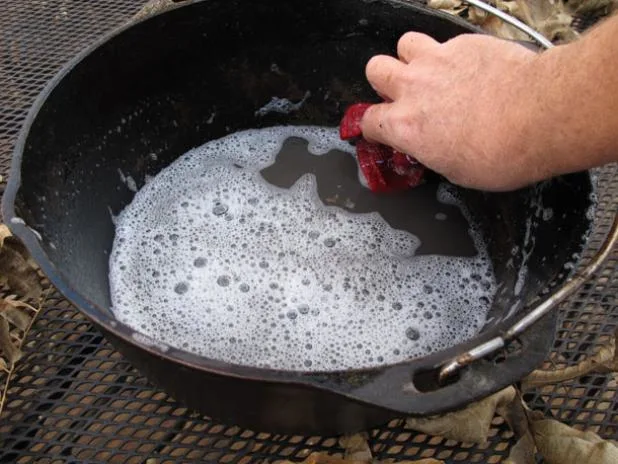
| Clean off loose bits of old seasoning, burned-on food scraps, and other build up. T. Edward Nickens |
The first order of business is to clean off loose bits of old seasoning, burned-on food scraps, and the despicable rust and general funk. I turned the oven on to 300 degrees. Then I gave the black pot a good scrubbing with soap and water. All the while, I reminded myself that soapy water should never again touch this pot.
Rinse and Dry
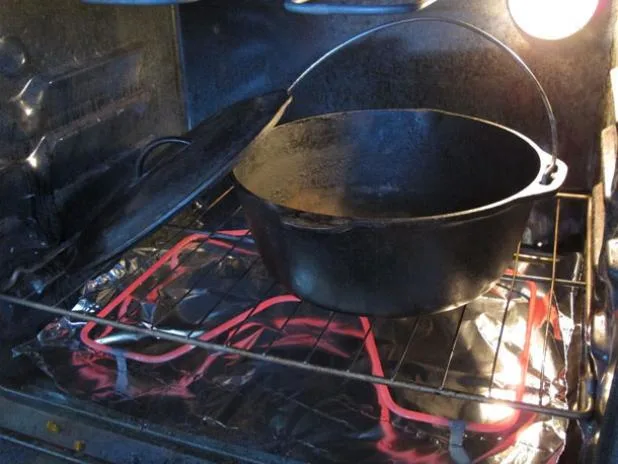
| Rinse the cast iron dutch oven and dry it off in the oven. T. Edward Nickens |
Next, I gave it a good rinse, then placed in the oven for a 10-minute drying session.
Scrub with Oil and Salt
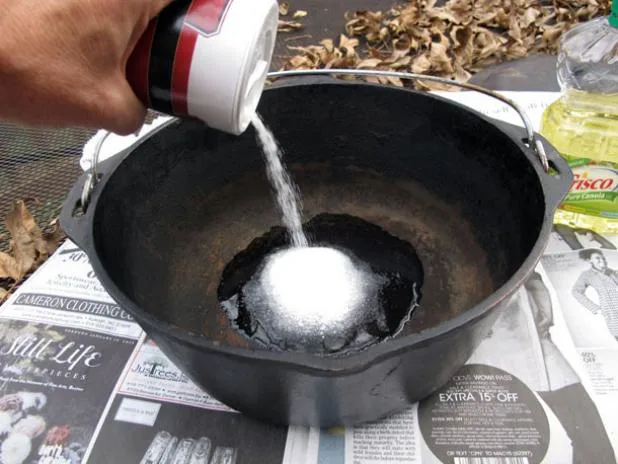
| Combine oil and salt to remove a layer of build up and funk from your pot. T. Edward Nickens |
Time to get serious. I removed the pot from the oven and cranked up the heat to 450 degrees. I poured a quarter-cup of liquid oil (I used Canola, which is what I had, but olive, vegetable, peanut, or others will work) and a cup of coarse kosher salt into the middle of the pan. Using a clean cotton rag, I worked the Dutch oven over, adding more oil and salt as needed. I scrubbed inside and outside, and was meticulous around the known rusty spots. I may have cooed quiet apologies during this time, much as a mother would to a child who’d fallen off a tricycle.
Rinse, Scrub, and More Heat
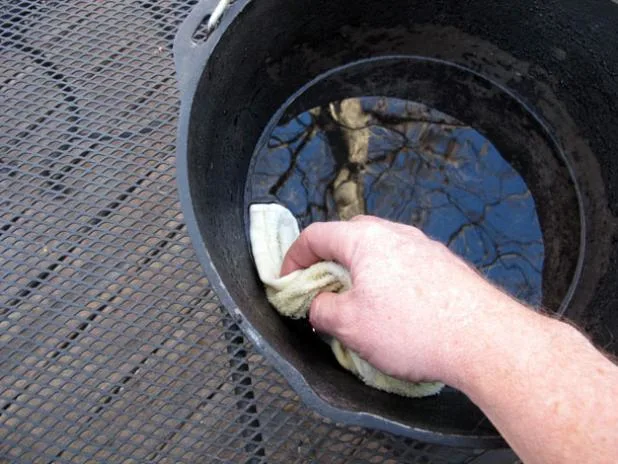
| Start stage-two scrubbing with white vinegar and a rag. T. Edward Nickens |
I rinsed off the pot and give it a stage-two scrubbing, this one using a solution of a cup of white vinegar to a quart of water. Rust, crud, and loose seasoning is gone, showing bare metal where the new seasoning will be applied. Another rinse, then I placed it in the 450-degree oven for 10 minutes to dry thoroughly.
Time to Start Refinishing
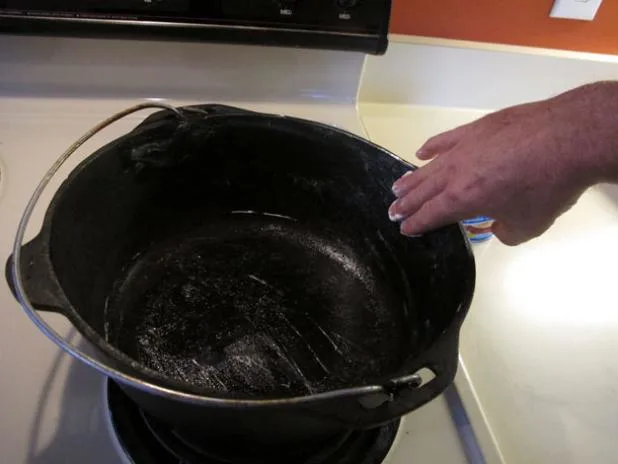
| After heating up the pot and letting it cool, add a layer of Crisco to the surface. T. Edward Nickens |
Next I took the pot out of the oven and let it cool enough to handle. I turned the oven down to 300 degrees. While it was cooling somewhat, I worked a thin layer of Crisco all over the oven, inside and out, lids, handles, everything. Back in the oven it went, upside down, for an hour, during which it smelled like I was running a blast furnace in the house. This is a small price to pay for the alchemy taking place.
Cool and Repeat
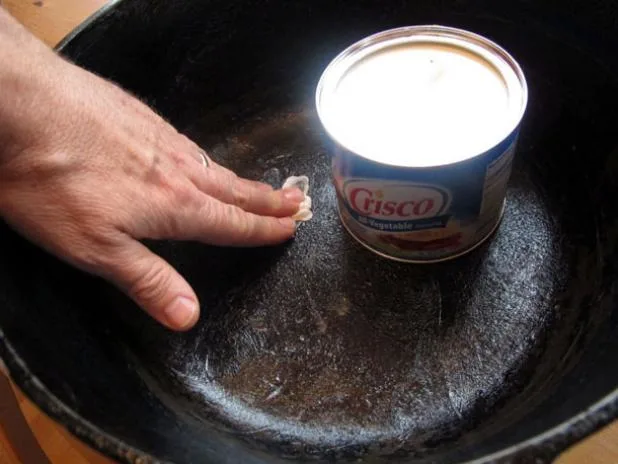
| More Crisco and another hour-long spa treatment in the oven. T. Edward Nickens |
I removed the pot and let it cool. Look! So much better already. I wiped away excess grease that pooled in the bottom–then gave it another round: More Crisco and another hour-long spa treatment in the oven.
Admire The Finish
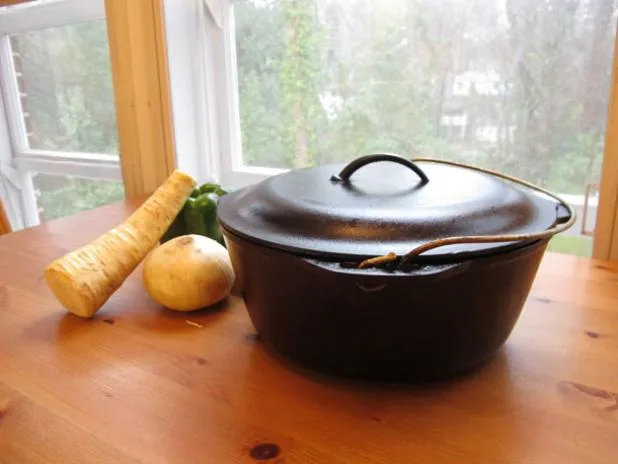
| The fully restored cast iron dutch oven, ready to cook a meal. T. Edward Nickens |
Almost done. I removed the Dutch oven from the modern oven, and lookee there. Good as new––or even better, good as old. This method creates a fine seasoning base to work with, and work it you must. The more you use a freshly seasoned black pot, the longer the seasoning will last, and the better it will perform. To get started, I fried a pound of bacon in the black pot.
I felt better already.
Test Your Restoration with Your Favorite Recipe
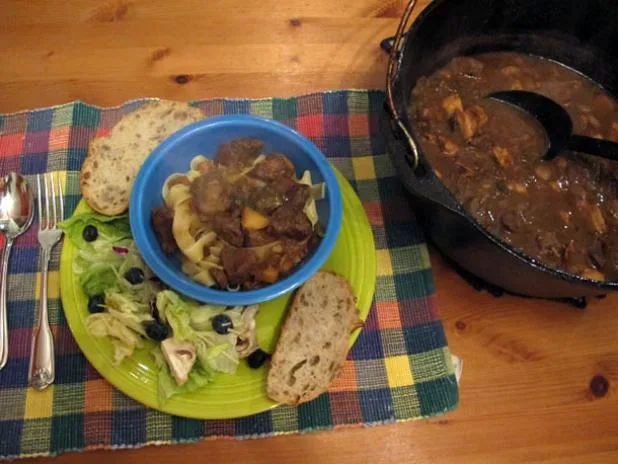
| Venison Carbonnade made in a restored and seasoned dutch oven. T. Edward Nickens |
I reintroduced my Dutch oven to polite society with a whopper pot of venison carbonnade, made from the haunch of my son’s first deer. I used Jonathon Miles’s recipe from the Wild Chef and added a green pepper and diced parsnips. Why? Because it just felt like a special day.
Venison Carbonnade Recipe
Carbonnade is a traditional, rib-sticking Belgian stew made with beef, onions, and a spike of dark beer. Adapted for elk, it’s the perfect remedy for a cold day in the field, and a sly way to integrate the two primary hunting-camp food groups (those being meat and beer). Meat from deer or moose will be equally good here.
Ingredients
3 lb. elk or venison stew meat, cut into 2-inch cubes
2 Tbsp. butter
4 slices bacon, chopped
3 yellow onions, chopped
1 Tbsp. dark brown sugar
4 cloves garlic, minced
16 oz. Belgian dark strong ale or other dark flavorful beer
1 cup (or more) chicken stock
1 bay leaf
1 tsp. dried thyme
1 tsp. apple cider vinegar (or lemon juice)
1⁄4 cup chopped parsley
Salt and freshly ground pepper, to taste
Directions
Heat a large pot or Dutch oven over medium-high heat. Add the butter and bacon, and cook until barely crispy. Remove the bacon with a slotted spoon, reserving for later. Dry the venison with paper towels, then salt and pepper generously. Add the meat to the pot, in batches to avoid overcrowding, and raise the heat to high. Sear the meat well on all sides, then remove to a plate.
Add the onions and brown sugar to the pot or Dutch oven and reduce the heat to medium-low. Cook, stirring occasionally, for about 20 minutes, or until the onions are soft and caramelized, with a deep golden-brown color. Stir in the garlic and cook for 2 more minutes.
Raise the heat to medium-high. Pour in the beer and scrape the bottom of the pot with a wooden spoon to dislodge any tasty brown bits. Bring to a boil, then add the reserved bacon and the meat along with any accumulated juices. Add the chicken stock (you may need more than a cup to cover the meat), bay leaf, and thyme, and bring to a low simmer. Reduce the heat, cover, and simmer until the meat is very tender, about 2 hours.

