Small-scale prescribed burns can create red-hot turkey hunting. Bill Konway
It was storming just before daylight, so I slept in. I pulled into my farm right after sunrise and heard a gobble as soon as I opened the truck door. He was still on the neighbor’s, but I knew he was headed for the charred hillside on my place, which was now alive with new green growth. I grabbed my gear and took off.
Six weeks earlier, with the help of some buddies and a can of diesel fuel, I’d set my farm on fire. Conservation groups like the National Wild Turkey Federation are pushing to bring prescribed fire back to the habitat-management scene, both on a large scale and for individual landowners. Fire is certainly cost-effective compared with mowing and herbicides. I just didn’t realize how fast it would improve the turkey hunting. Within three weeks, we had hens bugging and gobblers strutting in the 15 acres of old field that we’d burned.
Why You Should Try Fire (Safely)
On a landscape level, periodic prescribed burns reduce the fuel load (leaf litter and dead logs on the forest floor) that builds over the years and can cause wildfires to rage out of control. On a smaller scale, prescribed burns improve wildlife habitat and make for better hunting on individual properties, small ones included.
Read Next: The 10 Best Turkey Guns Ever
“We recommend using fire on a third of your property annually, and the average landowner I talk to has 30 to 100 acres,” says Mark Hatfield, a certified wildlife biologist with the NWTF. “A dormant-season burn, which takes place in late winter, removes litter and exposes a fresh seed bank. New vegetation emerges quickly, and it fills up with insects. Turkeys love it. As the vegetation gets taller later in spring, it provides excellent nesting cover, without the dense thatch on the ground that prevents poults from moving about.”
What to Expect When Conducting Your First Burn
If you’ve never done a burn on your farm, expect a hot, fast fire that could potentially get out of control. I say this to give you enough pause to avoid any laziness in your preparations. I can only summarize the steps of a burn in this space. When you’re serious about lighting your first prescribed fire, ask someone who’s experienced to help. Frequently, fish and wildlife personnel will assist for free and can guide you through legal burning requirements in your state.
The most laborious part of burning is establishing firebreaks, which are lanes of bare dirt that flames cannot cross. Most of my firebreaks are 10 to 12 feet wide, and I build them with a tractor, plow, and tiller. If you don’t have access to a tractor and implements, find a buddy who does, rent some equipment, or hire a bulldozer operator for a few hours. The good news is a firebreak will last a lifetime with yearly maintenance, and turkeys love to strut in them. I cut cross-section breaks through my place, too, so that I can burn a couple acres at a time in a checkerboard pattern.
Have a written burn plan in place. Included should be a list of emergency fire department contacts, a description of the area, and the optimum conditions for a safe burn. In most cases, you need a day with a slow but steady wind that will push the flames and smoke in the safest direction—like away from roads and neighbors. Days with 40 to 50 percent relative humidity are usually good for burning, but if you have a heavy fuel load, like pine needles, you can get away with a little more humidity. Burning on dry days with sub–25 percent humidity is asking for trouble.
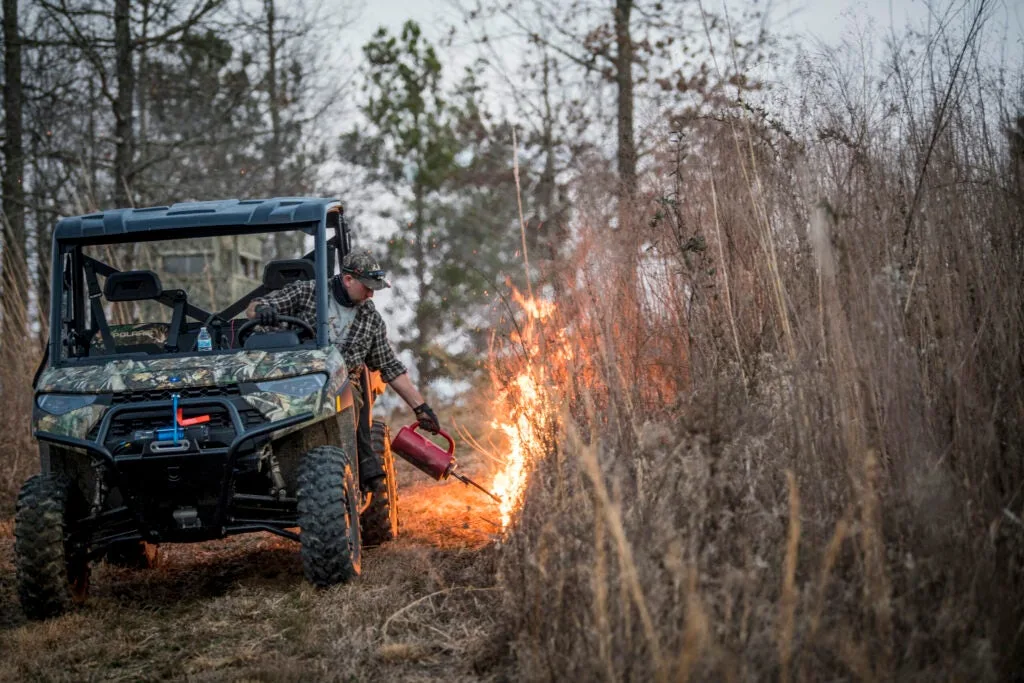
I’ve used everything from a flamethrower to a 2-gallon hand sprayer full of mixed diesel fuel and gasoline to light a burn. A drip torch designed for the task is the easiest and safest tool. For your first burn, light the edge of the downwind firebreak so that the flames creep slowly into the wind. This is called a backing fire, and the black line it creates widens your firebreak. If it’s burning too slowly, walk 20 or 30 yards upwind and light another line—called a head fire—that moves faster with the wind but snuffs out when it hits the back fire. Repeat the process until the burn is done. You’ll become more comfortable with larger head fires as you gain experience.
When the burn is over, it only takes a warm rain and a few weeks for the area to green up. And the local turkeys will find it almost as fast.
About That Turkey

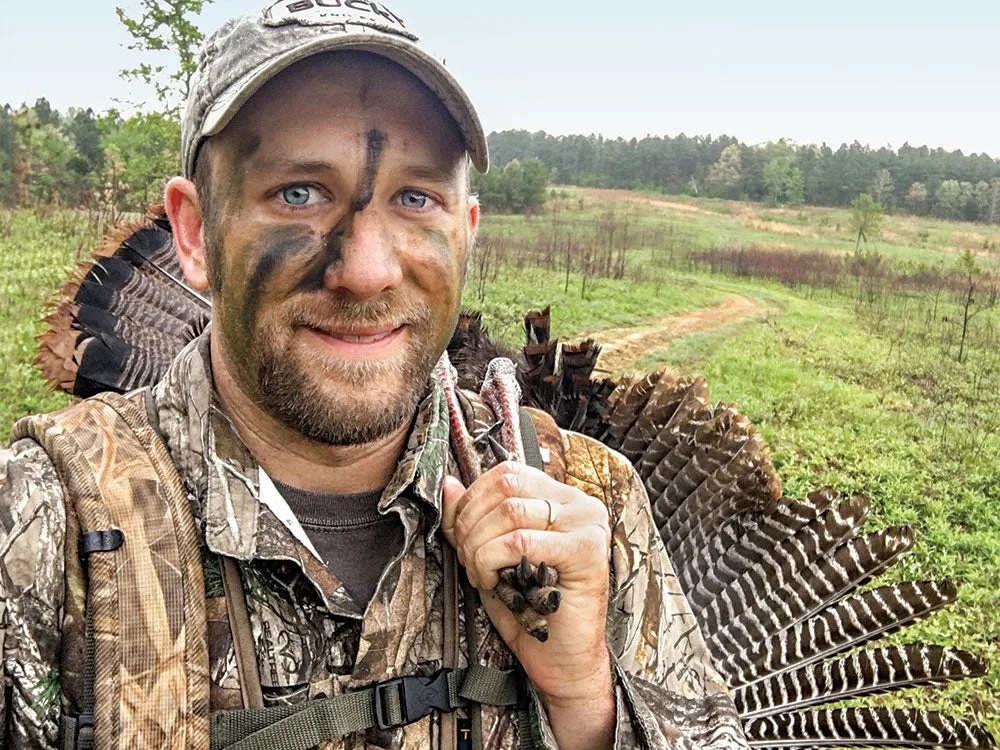
A gobbler the author shot in the area later that spring. Will Brantley
I stuck a couple of decoys
in my firebreak. He double-gobbled at my first yelp, and so I cutt at him. After three minutes of silence, he gobbled so close and loud, I could hear the rattle of his breast feathers. He strutted into view 18 steps away and stretched his neck when he heard the click of my safety. You could say my burn plan worked.
Turkey Tools of the Trade
A UTV is always a good thing to have along for a burn, since it allows you to run the firebreaks and keep tabs on a blaze from all sides, and have plenty of water on demand. I’ve been using a Ranger XP 1000 Big Game Edition this spring, and it’s got a bed big enough to haul a 15-gallon wand sprayer, which I just plug right into the unit’s 12-volt DC socket. So long as the machine is running to power the pump, I’ve got a water source with a good 15-foot reach primed and ready. I also haul backpack sprayers, rakes, a cooler with water, and a leaf blower to help ignite any stubborn areas that don’t want to flame up. —W.B.


