Sponsored Content: This article was produced in partnership with Silencer Central
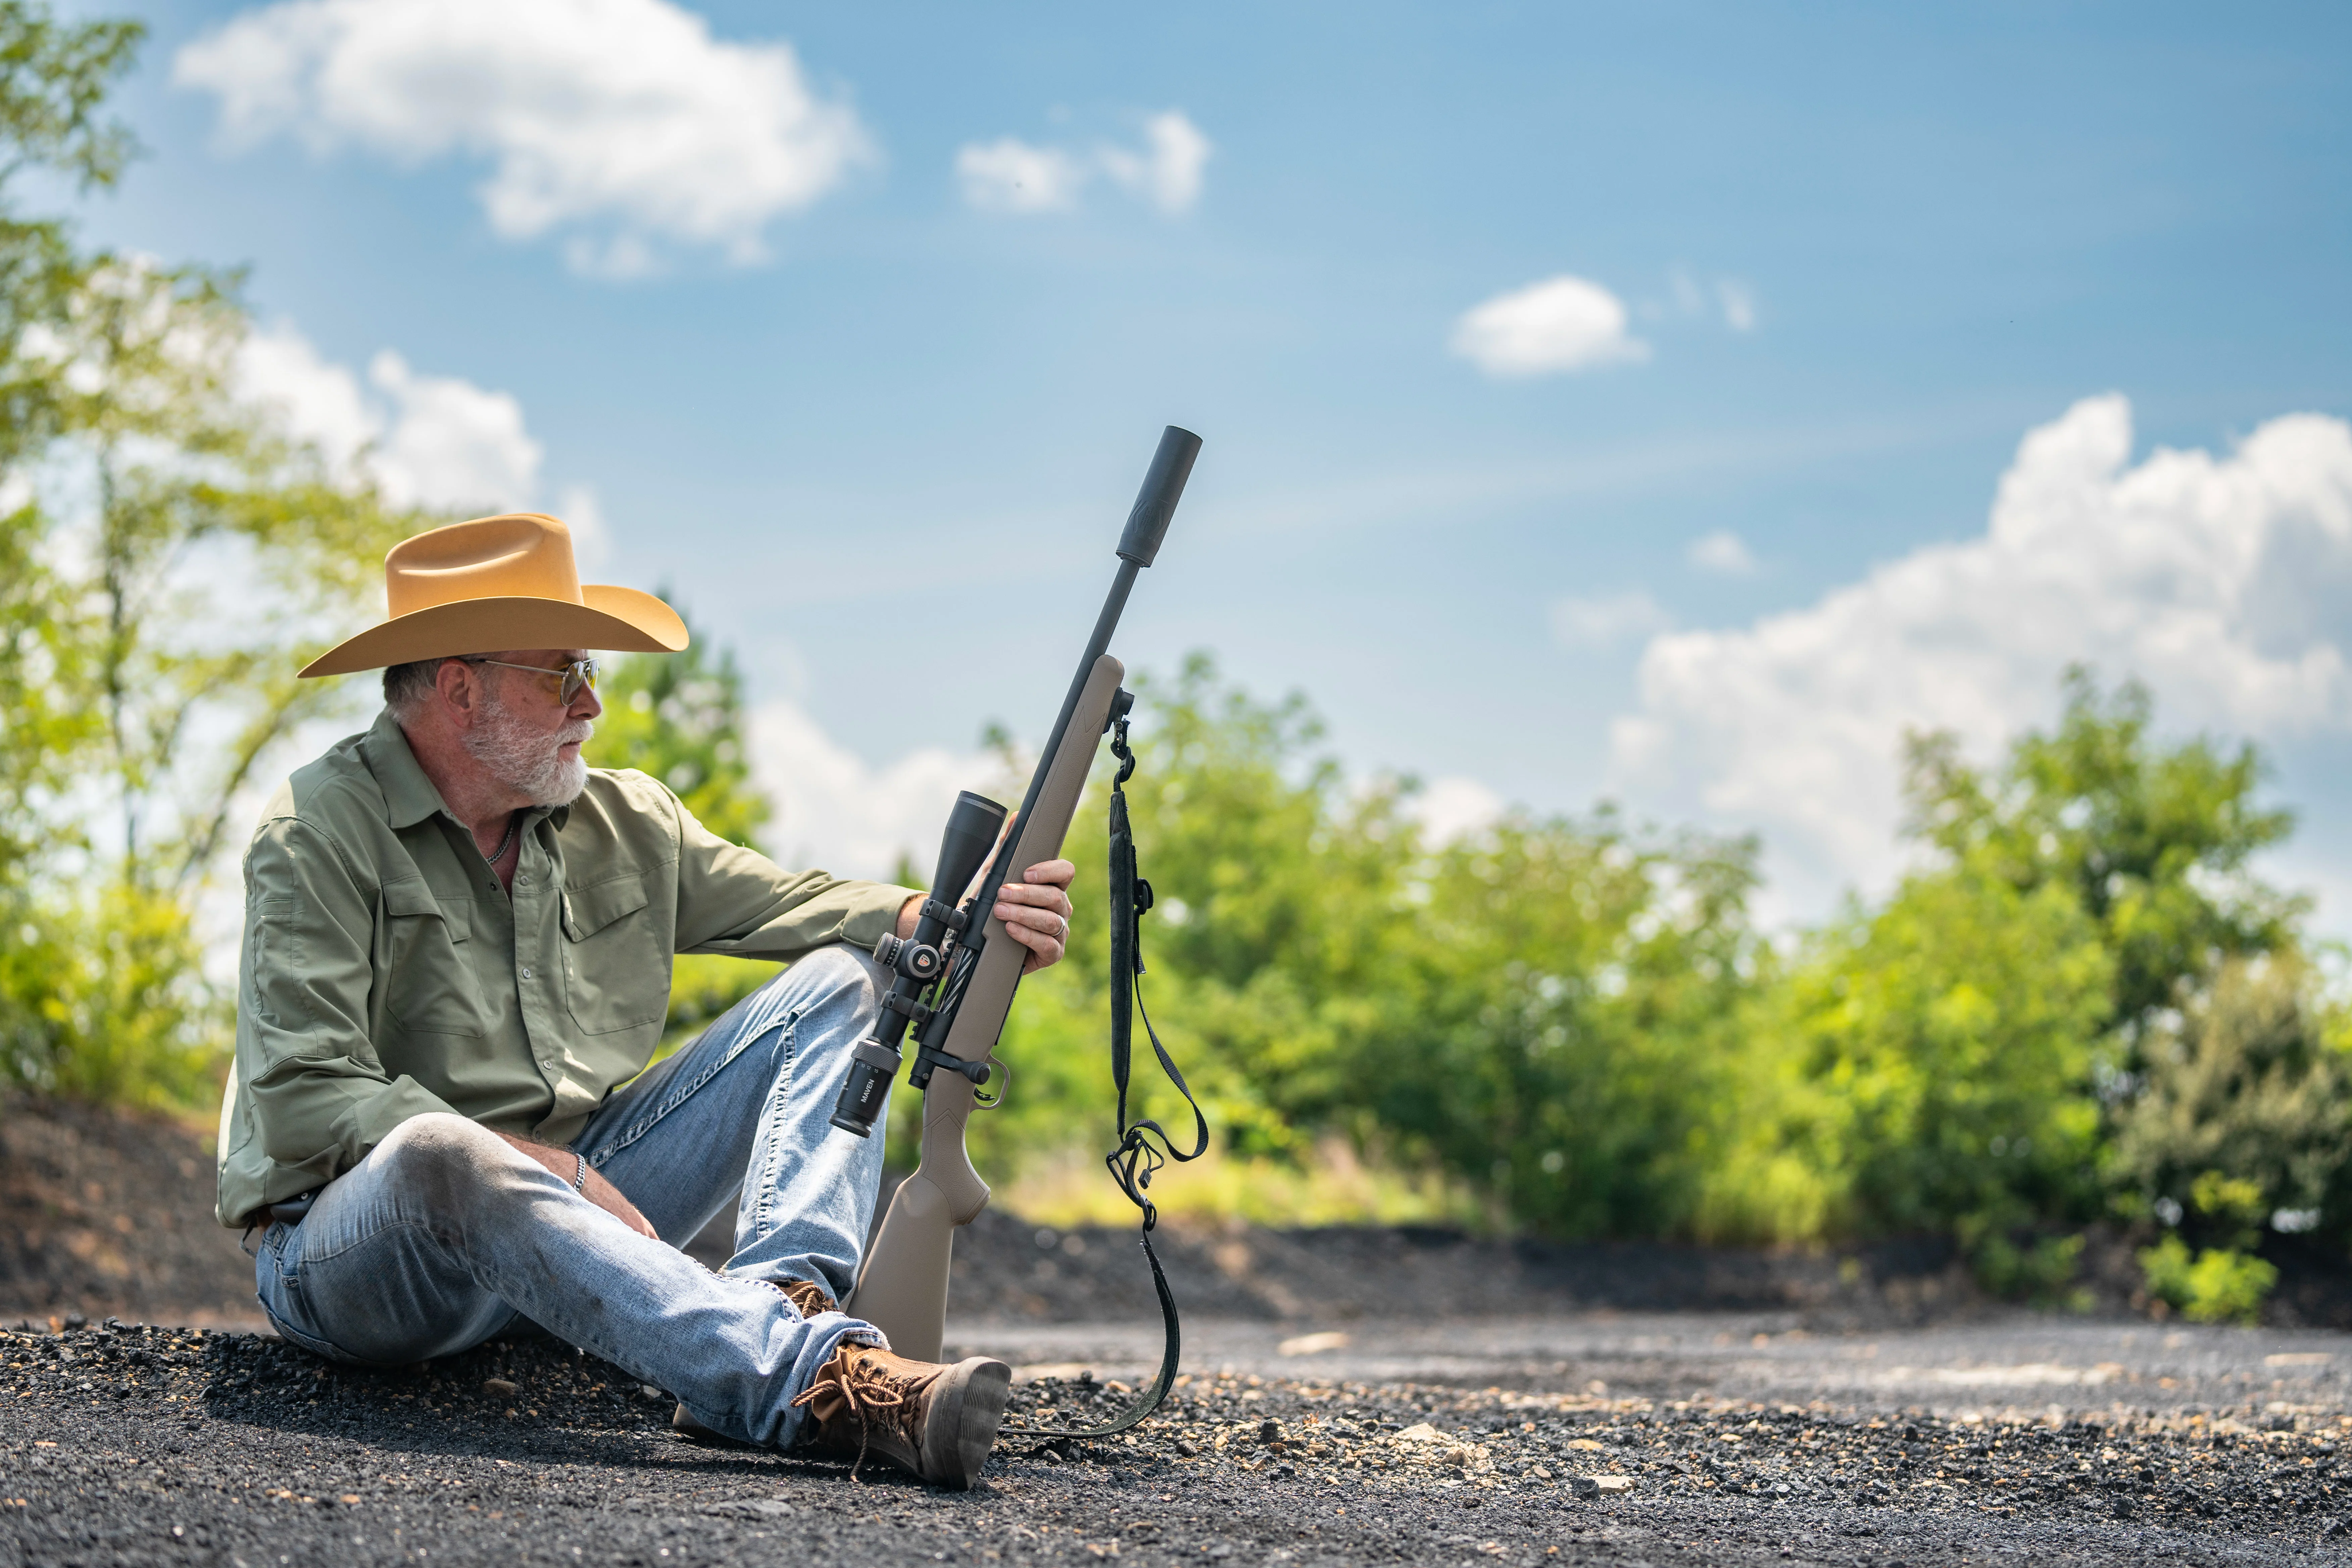
We’re down to the wire. In the northern part of the country, you can already feel fall creeping in, and before we know it, deer rifle season will be here all over the country. With trail cameras to set, stands to hang, and a little bowhunting to do, it seems like there isn’t any time to go the range. But a few range sessions now can mean the difference between punching your tag and staring at an empty freezer all next year. This is especially true if you’ve made a few upgrades to your rifle, like a new scope, a set of shooting sticks, or a suppressor.
Even if you didn’t get to the range this summer, we’ve got you covered with a three-week boot camp to improve your skills and get your rifle shooting right. Best of all, the following drills don’t take much time or ammo. Block out a few days from now until rifle season, and you’ll be more than ready for when the moment of truth arrives.
Prep Your Rifle
You can’t go hunting unless your rifle is up to snuff, and just saying that it’s sighted in from last year doesn’t cut it. Before rifle season—or hitting the range to practice—there are a few things to check. And if you’re hunting with something new like a suppressor, there are a couple of other factors to consider.

Get the right rifle: This will depend on how you hunt, where you hunt, and what kind of rifle you like. Running things like suppressors, though, will influence your decision. Because you’re adding some weight to your rifle, consider shortening the barrel, or getting a rifle that’s suppressor ready. Sounds hard? Not really. A company like
Silencer Central will shorten your rifle barrel at their factory. All you need to do is mail it to them.
Make sure everything is tight: Screws and bolts come loose, and you don’t want that to be the case on your rifle. A loose action screw or loose scope ring screw can alter the point of impact of your shot, and so can a loose suppressor. Buy a torque screwdriver or set of Fix it Sticks and make sure everything is tightened to spec. While you’re shooting and hunting, periodically check to see that your suppressor is tightened all the way.
Get a good zero: Zeroing your rifle properly is one of the most important keys to success. There are a few ways to do this, the most common two being a 100-yard zero and a Maximum Point Blank Range Zero (MPBR). It’s too much to go into with the space that we have here, but there are some great stories on how to zero your rifle on F&S.com.

It’s important to note that suppressors will also change your point of impact if you’ve established a zero without one. That’s why you need to confirm and set your zero with a suppressor if you plan to hunt with one. Also, consider using a suppressor cover to zero your rifle because the heat coming from the can after multiple sustained shots can cause a mirage in your scope. Once your gear is ready, get to the range.
Week 1: Learn Your Maximum Effective Range
A question you’ll often hear from an outfitter, guide, or somebody else in camp is, “How far can you shoot?” For a lot of us the idea of taking a long shot is daunting, and the distance we’re comfortable shooting kind of vague. But you can get a decent idea of your maximum effective range even if you only have 100 yards to work with.
To do this, we came up with a modified version of Chris Way’s Kraft Drill from RifleKraft. He trains precision shooters, so we tweaked his drill a little bit for hunters. All you need are three targets with 8-inch circles, nine rounds of ammunition, and 100 yards to shoot. If you’re running a suppressor, use a cover because you’ll take multiple shots.

First, set the targets downrange and fire one round at each target, each from a different position. Shoot one target from standing, one from seated, and one from prone. You can use whatever shooting aids and positions you hunt with, so feel free to run a tripod kneeling or take the prone shot from a backpack if you’d do that in the field. Once you’ve taken the three shots, repeat the sequence two more times, building and breaking each position in between shots.
Downrange, you should have three targets, each with three holes in them. Measure the group sizes on your targets in inches, and write that number down. Divide 8 (roughly the size of a kill zone on a whitetail) by your group size, and add two zeros to whatever number you end up with. For example, using the equation with a 2-inch group, you’d end up with 400—which means you can hold steady enough for a 400-yard shot from that given position.
It’s important to note that this is not the end-all-be-all test of your maximum range. Ideally, you’d confirm these shots from the same positions at real distances. Plus, wind, nerves, and other things come into play when taking far shots at game. A good practice is to halve the distances you end up with from the drill and don’t shoot beyond that yardage when you’re out in the field. If you don’t see groups that you’re proud of, keep practicing for the rest of the week.
Week 2: Practice Getting Your Rifle into Action
Taking a 30-yard shot with a rifle off-hand is a piece of cake, right? It’s one of the easiest shots a hunter is faced with. But as many know, no matter how easy the shot, it gets a lot harder when you’re staring at a set of antlers. To complicate things more, we usually carry rifles slung over our shoulders while walking in the woods. I’ve seen plenty of deer, elk, or bear while my rifle was over my shoulder, and they all bounded away unharmed.
It is possible to unsling your rifle and get a shot off with enough time to drop a buck. And to help with this, there’s a fun, easy drill just about anybody can do. It’s called the Deer Hunter Drill. You’ll need a shot timer and a target, ideally deer-shaped, placed at 30 yards.

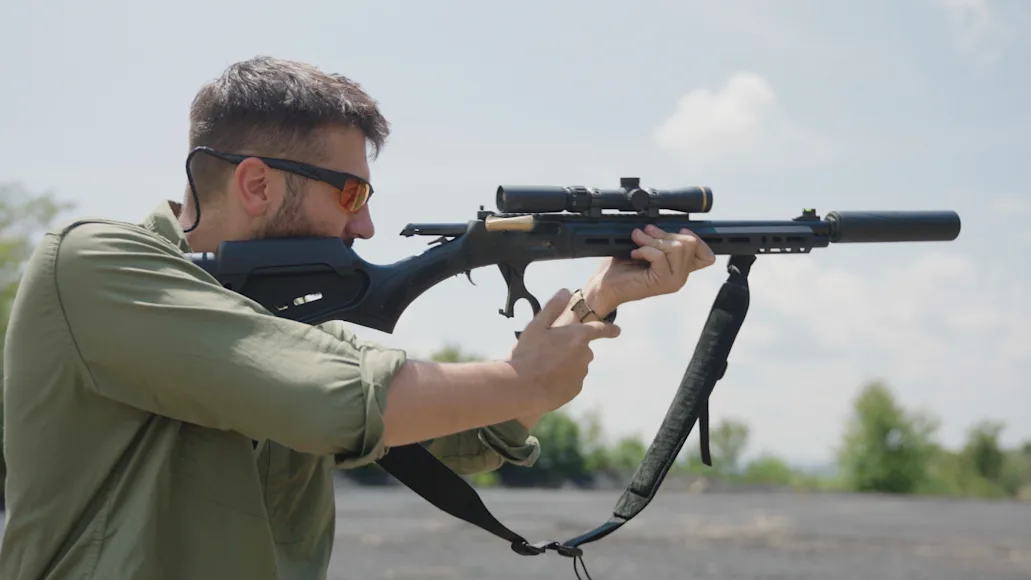
Start from one of the two methods of carry most common in the woods: American carry, with the rifle over your strong-side shoulder, muzzle up, or African carry, with the rifle over your weak side, muzzle down. When the buzzer goes off on your shot timer, unsling the rifle, flick off the safety, and put one shot in the kill zone of your deer target (or an 8-inch circle target). The trick with this drill is not to go as fast as you can, but to see how long it takes to get good, clean hits. After establishing that, turn up the speed as you practice throughout the week. To help, here are a couple of tips for unslinging your rifle fast from each position:
American Carry
Start with your strong side hand on the sling and push forward, pinching the rifle tight against your back. As you do that, tuck your weak side hand under the opposite armpit and grab the forend of your rifle. Pull the rifle out in front of you and mount it to the shoulder.

African Carry
The best thing about African carry is that your weak-side hand can always be on the forend of your rifle. To get the rifle to your shoulder, you simply push out toward your target with your weak-side hand and the rifle, then grasp the grip with your strong hand and pull it to your shoulder.
A short, handy rifle and suppressor setup really shines during this drill. My favorite is a 16-inch barreled bolt-action or lever gun and a lightweight can like Silencer Central’s Banish Backcountry. At 7.8 ounces, you barely know it’s on the gun.
Week 3: Isolate Your Weaknesses
If there’s one all-around drill that feels most like deer hunting, it’s probably the Step-Back Drill. All you need for the drill is a shot timer, an 8-inch steel target, and a bit of distance to, well, step back.
The drill starts at just 60 yards with an off-hand shot. Start from the high-ready position with the rifle in hand. Then hit the timer, and make your shot on target. Record the time it takes for you to get the hit—and if you miss, keep shooting until you hit. Next, take a walk back to double that distance at 120 yards. From here, you can shoot from any position you like, with any kind of shooting support you like. You just need to start from either the high ready or from a slung rifle. Get your hit and record the time it takes to do so. After that, double the distance again and step back to 240 yards. Start the timer, and take one shot from any position or support you need, then record the time it takes to make a hit.

Ideally, you should be able to add your times from the three shots and have a number under 30 seconds. But I’m here to tell you that it isn’t easy—and it shouldn’t be a race. What the Step Back Drill is great for is isolating weaknesses. Try to find and repeat the best positions for each shot through the week, and take your time to get good hits. At first, you probably won’t be under 30 seconds. But as you practice, you’ll get faster and more efficient. Make the drill as realistic as possible, and eventually, you can make just about any shot in the woods.


