When you’re out camping, enjoying an evening on the back patio, or even lucky enough to have a fireplace inside during the cold winter months, you need to know how to start a fire. There are many ways to build a fire, and some of them are more complicated than others.
For this article, we will only detail how to build a fire when camping using best practices and assuming you have the correct materials at your disposal. When starting a fire in a fireplace or building a survival fire
you’ll use a lot of the same principles, you just might have different materials on hand.
Table of Contents
How to Start a Fire (Step-by-Step Guide)
How to Clean Up a Campfire
Safety Considerations
Frequently Asked Questions
_Learn how to subscribe to the new Field & Stream magazine here!
_
How to Start a Fire (Step-by-Step Guide)
Here’s how to start a fire if you have access to fire-starting materials. Other considerations will need to be made if you’re in an emergency or need to build a survival fire in the rain
.
Step 1: Find an Appropriate Place to Have a Fire
No matter the type of fire you intend to build, the first step is to choose an appropriate location. Be aware of area fire bans or fire regulations. There are generally three types of campsites where you’ll build a fire:
Campground: You should have a fire pit, rings, or grill. If fires are permitted at the time of your visit, only make a fire in one of these designated areas.
Undeveloped Site: this is likely BLM land or Forest Service land, and campfires may or may not be permitted. Most areas will have fire danger or ban postings, but check the area website or the office to be sure. A campfire permit may be required in some regions. Choose your fire locations carefully and keep them away from brush, dead debris, and low-hanging branches. Many of these areas will have obvious campsites with established fire rings made from rocks. Utilize preexisting fire locations if they are in a safe place.
Backcountry: some backcountry campsites will have designated fire rings. Always prepare and research the area to see if fires are permitted. If a park-provided fire ring is not provided, look for well-used campsites and utilize existing fire rings before establishing a new location.
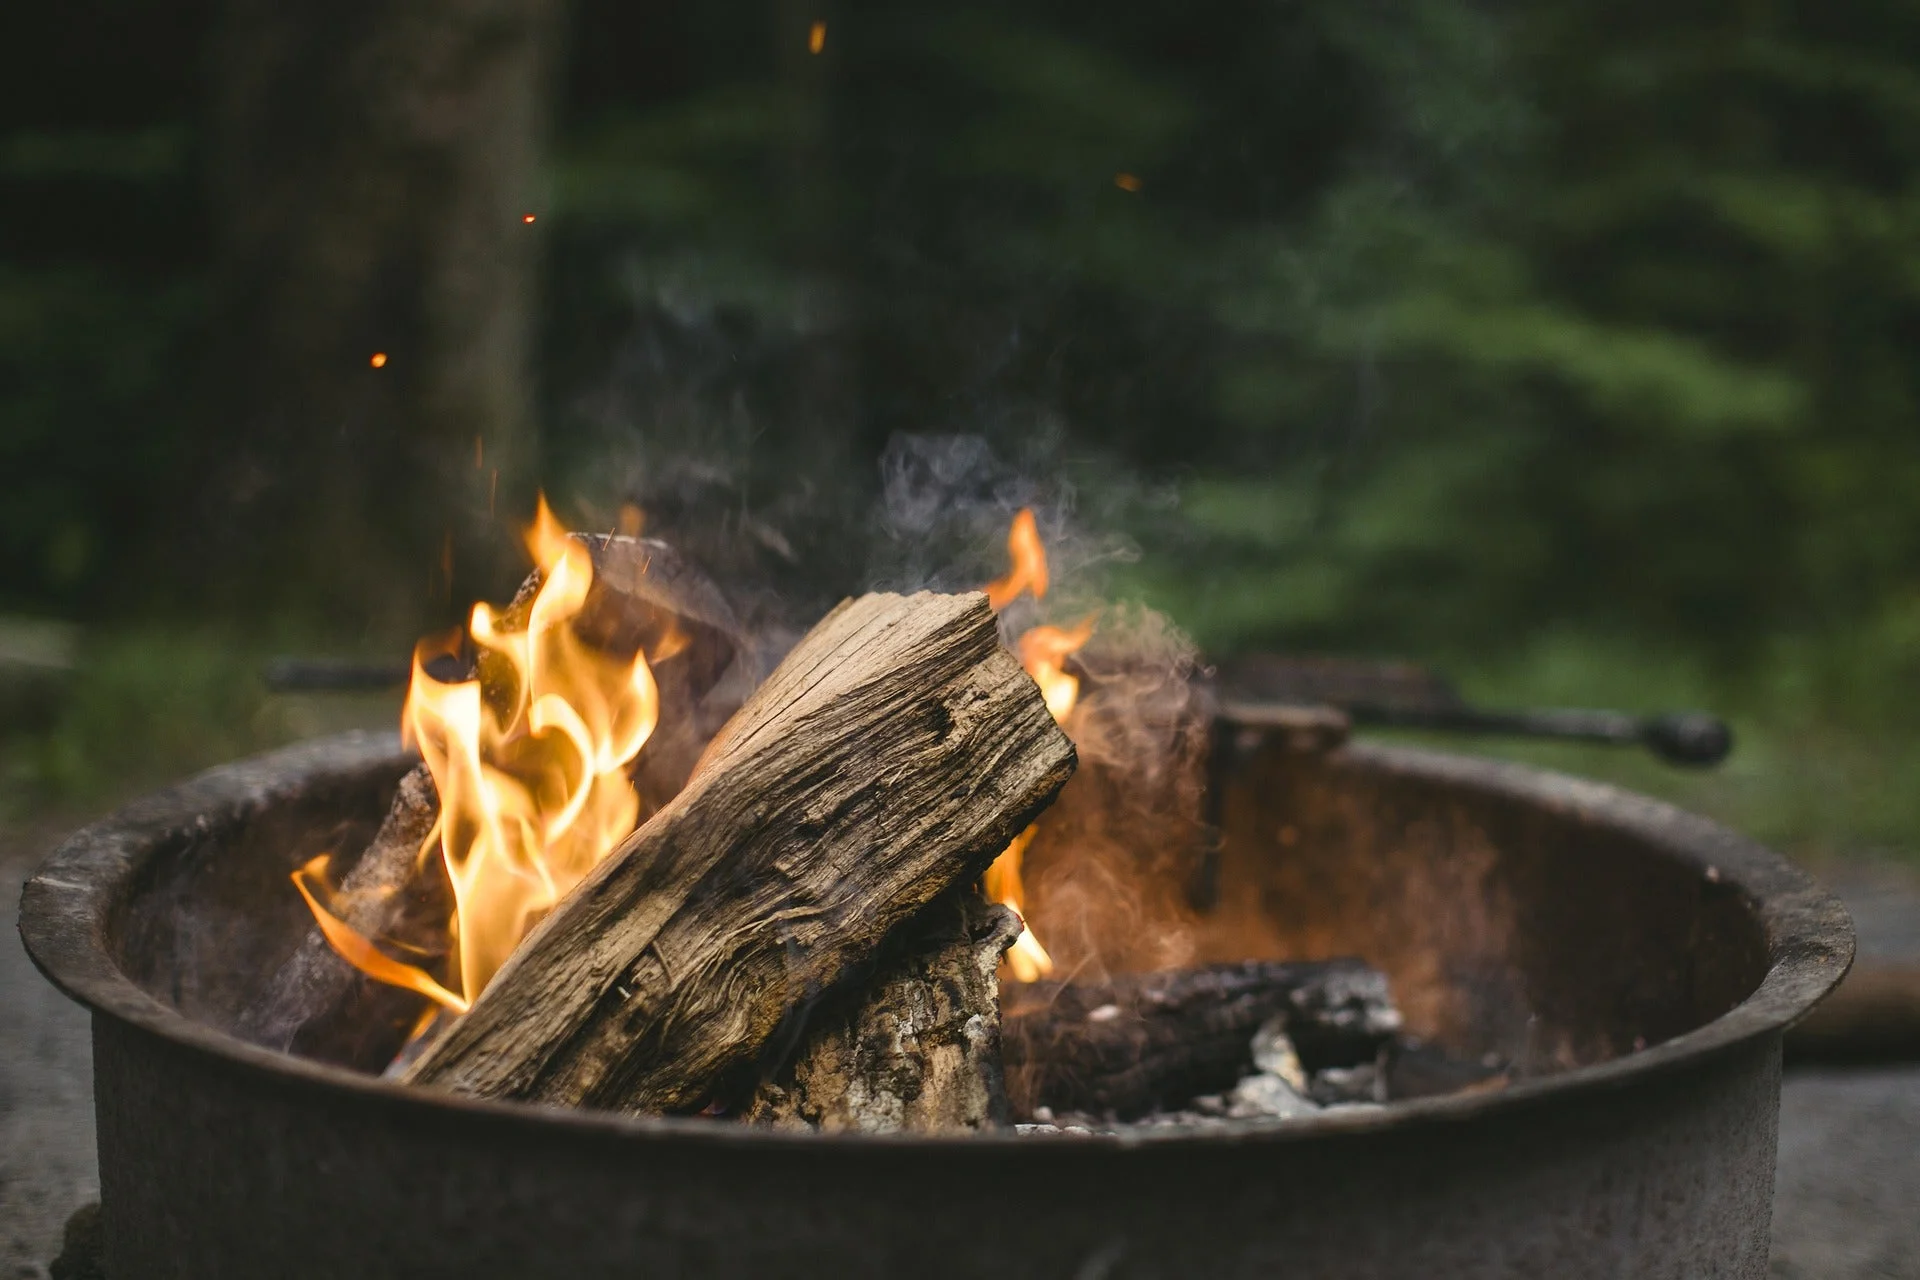
A fire ring in a campsite is a very safe place to build a fire. SupremeRyan from Pixabay
When choosing a location, not only where the fire will be burning matters. As you are scouting an area, try to camp in places with an abundance of firewood. High alpine areas will likely be scarce for wood. Some locations do not allow wood collection, and firewood must be bought ahead of time or from the park.
The best place to choose to build a fire is within a provided fire ring or pit. These are usually in open areas with minimal risk of spreading and can easily be cleaned up after use. Fire pans are also a great alternative if a fire ring is not provided and you want to leave minimal trace of a fire. Fire pans should have at least a three-inch lip on all sides and should be elevated off the ground to prevent scorching the ground.
Fire mounds can also be utilized with access to the right tools. To build a mound fire:
Collect sand, gravel, or mineral soil from a source that already appears to be disturbed. Do not dig up new soil.
Lay a ground cloth on the fire site you have chosen and then spread the collected dirt on the cloth in a circular, flat-topped mound. The mound should be 3-5 inches thick.The thickness of the mound protects and insulates the ground from the heat of the fire. The ground cloth is simply helpful in the cleanup.
Make a mound with a wide enough circumference to build a fire and allow the coals to spread. So, make it wider than the size of fire you’d like to have.
Mound fires are excellent if you do not have a flat, dirt area to build a fire, and you want to build a fire in a true leave no trace fashion.
Step 2: Gather Wood
Much like choosing the location to build a fire, how you gather the wood will differ according to the type of camping you are doing and where you are located. If you want to lear how to start a fire, you’ll want to have access to the three primary types of fuel for building a fire:
Tinder: small, dry items that quickly catch fire to ignite the kindling. Tinder can include small twigs, forest duff, dry needles, dry leaves, or paper. You can also pack a small tin of something like cotton balls and vaseline as a method of igniting the kindling.
Kindling: generally consists of small sticks around one inch thick. Kindling can be collected from sticks found on the ground around your campsite, or it can be made by cutting small sticks off larger pieces of firewood.
Firewood: These should be pieces of wood large enough to keep the fire burning for some time, create descend coals for cooking, but still small enough to fit in the fire pit. Generally around the thickness of an adult’s wrist.
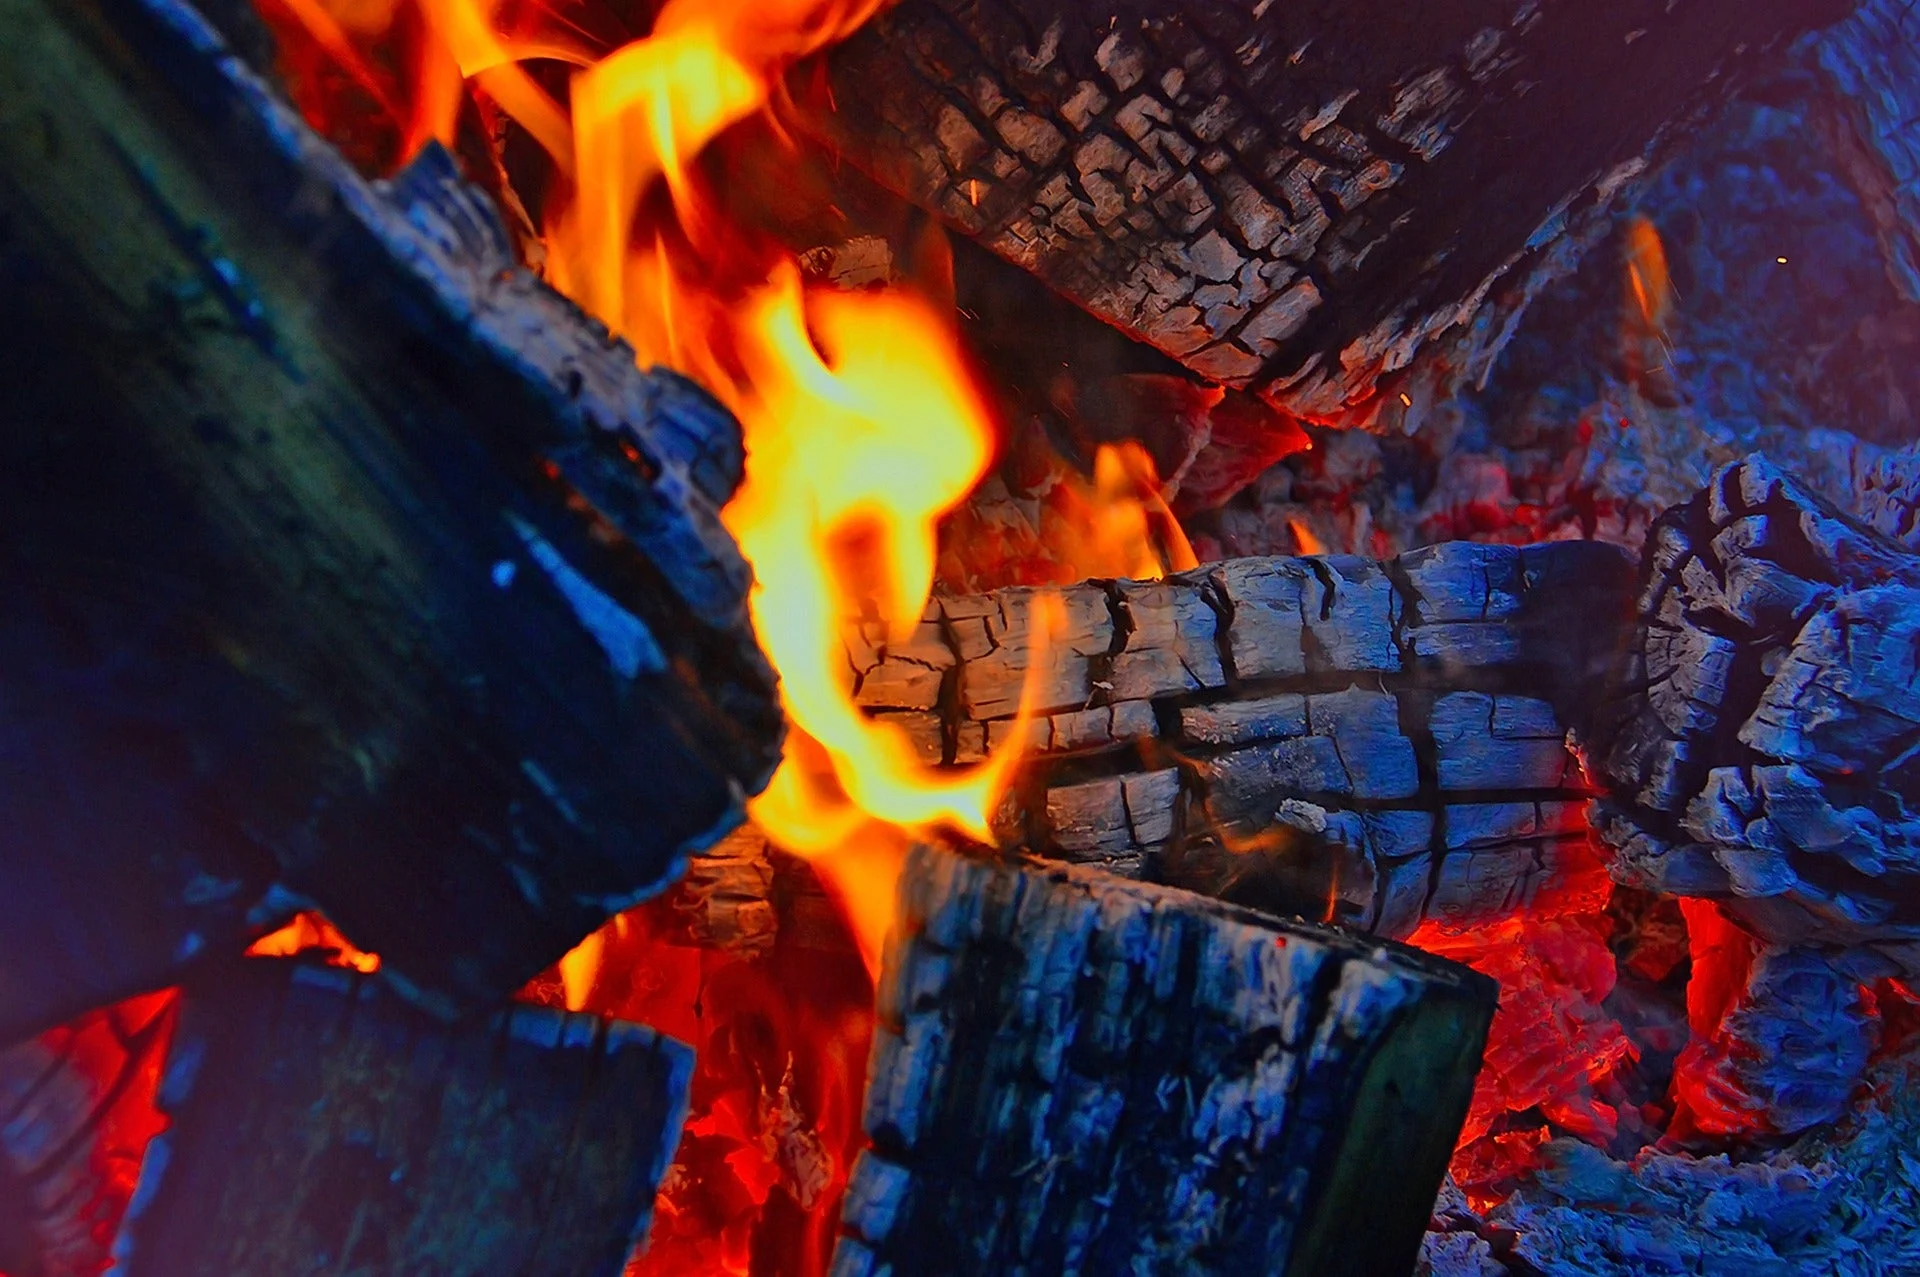
You’ll want to establish a good bed of coals if you want to cook over your fire. Gábor Adonyi from Pixabay
When camping in a campground, they usually only allow local firewood to be burned. Many locations require you to buy firewood from the campground directly. Otherwise, you can purchase it from nearby gas stations or grocery stores.
If you travel from a distance more than 50 miles away from your campground, do not bring firewood with you. Wait until you are close and purchase it locally. Keeping firewood within a certain distance from the source prevents the spread of harmful insects into nearby forests.
When you are in the backcountry or even in some BLM and Forest Service areas, you may be foraging for firewood. If you want to skip foraging for large pieces of firewood, you can also purchase firewood locally and bring it with you.
As a general rule, when collecting firewood, only gather from dead and down trees. Never cut branches off of live trees or even dead ones still standing. Many animals nest in dead trees, so be courteous to their home. Avoid gathering chunks of wood thicker than your wrist. These take a long time to burn down completely, and you will not be able to clean the site properly when you are done. Always follow leave no trace principles
when collecting firewood and having a fire.
Step 3: Build the Fire
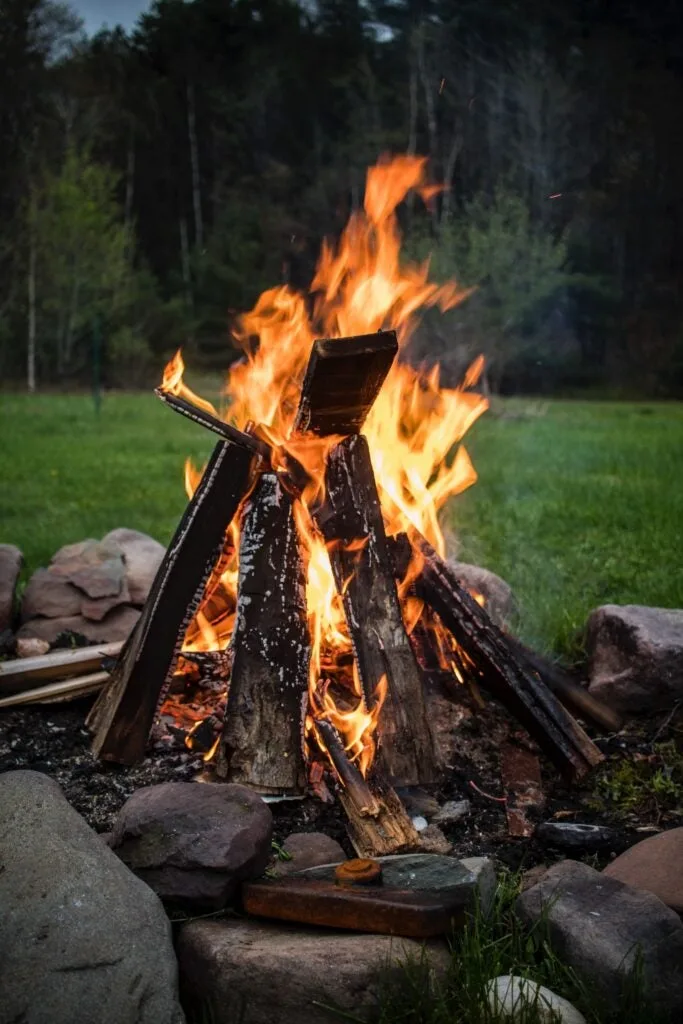
The cone is a classic campfire shape. Ryan Chelius
When building a fire, the golden rule is that smaller sticks will light bigger sticks on fire. Start by laying some kind of tinder (paper, pine cones, birch bark, dry leaves, or dry wood shavings). Place a bird’s nest of dry pieces of wood each about the thickness of a pencil atop of that. Surround those small pieces of wood with branches about the thickness of your thumb or split kindling wood (each piece as thick as two fingers). Add three or four larger split logs to this. All of the wood you use to make your fire should be as dry as possible. It’s also important to allow space for air to get into your fire. People who are first learning how to start a fire can sometimes pile logs too tightly. Here are a few classic construction techniques:
Log Cabin: My personal favorite, the log cabin uses two pieces of firewood parallel to one another. There should still be room between the logs that form the base of the cabin structure. Then, atop the two parallel pieces, turn 90 degrees and place two slightly smaller pieces on top. These should be perpendicular to form a square shape. Leave ample space inside of the square for your tinder and kindling. You can put the tinder and kindling down before building the cabin structure as well. Continue to add a few layers of wood to build the square structure up a bit more. As you go up, make the pieces of wood smaller each time. Make sure you build in such a way that leaves spaces between the logs for oxygen to reach the fire in the center. Once you light the tinder and kindling in the center you can add more kindling to the top of the structure.
Cone: starting with a small pile of tinder, build a small cone structure around it with some kindling. The tinder and kindling should be loosely piled to avoid suffocating the fire. You can add a few larger pieces of wood in a cone shape above this before you start the fire, or you can light the tinder and kindling and add larger pieces as it burns. Many find that once they have a stronger, hotter fire, adding the larger logs later prevents them from accidentally extinguishing the original cone they created.
Pyramid: also known as the upside-down fire, start with 3-4 of the large pieces of wood laying side by side. Turning 90 degrees, add another layer of slightly smaller logs on top. Continue building upwards in this fashion with smaller pieces of wood each time. Then, place a pile of tinder and kindling on the top. This one can be hard to keep lit at first and may require more kindling since the fire is being started from the top instead of the bottom.
You can also create variations of these methods. For instance, I prefer to build a small cone, light that, and then build a log cabin around it as it starts to burn. Find what works best for you and your situation, and go from there.
Step 4: Light the Fire
How to start a fire will all depend on what materials you have available to you and your preferred methods. For many of us, starting a fire with a light or a match
is ideal, and we often prepare for that situation to occur.
First, light the tinder with a match or a lighter. After lighting the tinder, lightly blow at the base of the fire to provide some oxygen and help it grow. As the intensity increase, the flame will spread and ignite more wood. You may need to continue to add kindling at first to help the larger pieces of firewood catch, especially if they’re a little wet.
How to Light a Fire if You Have Wet Wood…
How to start a fire with wet wood can be a bit harder to learn. When you have wet wood, having extra kindling on hand is a must. Once you get the first few wet pieces of wood to catch, they can begin to dry out. When building a fire when it is wet, it can be helpful to elevate the fire off of the wet ground using rocks or a fire pan.
If you only have wet wood, pay attention to how it is burning. Turn pieces often to keep it going and continue to add small pieces. Lay other pieces of wood you intend to burn around the sides of the firepit, close enough to begin to dry out but not so close they catch fire. If you have the tools, splitting the wood is beneficial as the center portions may be dry.
…Or Wet Matches
If your lighter runs out of fuel or your matches get wet, it can be helpful to have other options on hand. Some of the best matches for starting a survival fire
include waterproof or strike-anywhere matches, but they still can be hard to light in heavy rain or wind.
Knowing how to start a fire without matches or a lighter is a great survival technique, and it can be as simple as adding some flint and steel or one of the other best fire starters
to your camping kit.
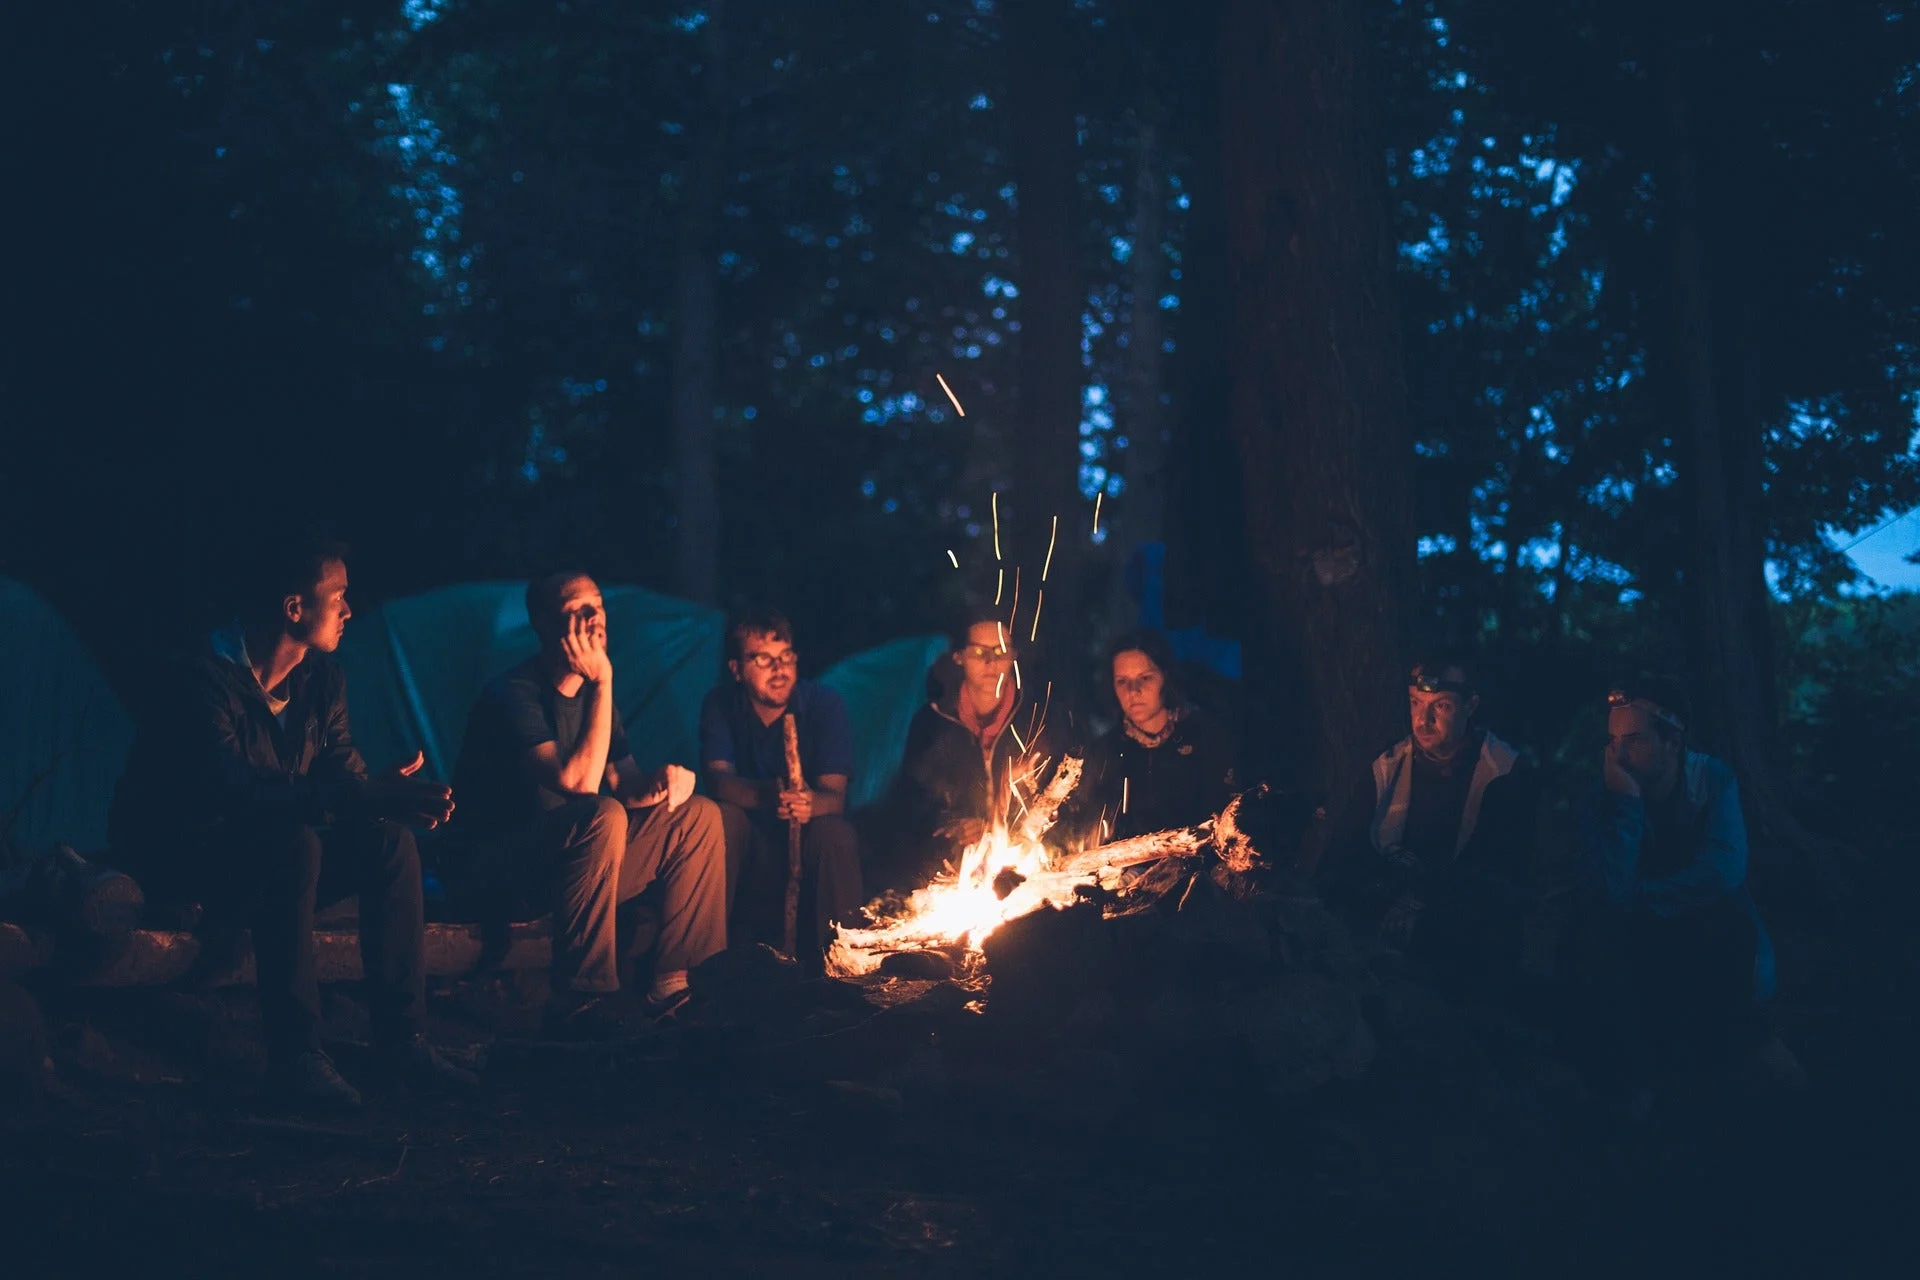
When you’re ready to call it a night, make sure your fire is completely out. Pexels from Pixabay
How to use flint and steel to start a fire
Gather materials including your fire starter and smalling tinder/kindling
Move to an open area away from brush that may catch fire.
Get your tinder and kindling together to create a small nest or bed for the flint shavings to fall into. Dry grass or juniper bark make for an excellent nest.
Once you have a bed or nest made, find a rock or some cardboard for it to sit on and make sure you are blocked from the wind. You can also put the bed in the fire pit straight away, so you don’t have to move it when it is lit.
Take your flint
and a pocket knife and scrape some flint off into the nest. Having a small piece of char cloth to scrape the flint onto in the nest can make lighting the fire much easier. If you see sparks, you’re using the wrong side of the flint. You don’t need too many shavings, but if you struggle to get the fire to light, add more.
Now use the other side of the flint to light the fire. Hold the flint close to the nest. It should be angled down, so the sparks roll off, landing in the middle. It may take a few scrapes to get the fire to light. Once the sparks hit the flint shavings, they should ignite the rest of the bed.
Add more kindling and build up the fire once the nest is burning.
If it is windy, your wood is wet, or you don’t have enough flint shavings, it may be challenging to start a fire using flint and steel. If you see a coal forming or embers in the nest, but it isn’t catching, you can blow on the base lightly to help the fire ignite.
Step 5: Tend to the fire
Never leave a fire unattended, especially when you are camping. To keep the fire going, move and rotate the wood from time to time and continue adding pieces as needed. Having one designated fire stick for moving wood is helpful and having leather gloves to add new firewood or move large pieces can protect your hands.
Step 6: Extinguish the fire
When you are going to bed, put the fire out. This is one of the seven leave no trace principles
. Check with the land management or park services to see if they have a preferred campfire extinguishing method.
If they don’t, you can follow these steps:
Start by distributing and spreading out the wood and coals in the firepit.
Gather some water in a bucket and begin sprinkling it (not pouring) onto any remaining flames and hot coals.
Sprinkling the water prevents intense steam and any accidental scalding from happening. If you are worried about that, you can also wear the leather gloves you have to protect your hands.
Stir the coals and ashes from time to time and continue to sprinkle to ensure you extinguish all of them.
As the steam dies down, you can begin to pour instead of sprinkling the water.
The coals should be cold before you leave the fire area. Hold your hand just above them to see if they are emitting any heat.
Do not use dirt or sand in an attempt to extinguish the fire. Only use water. Dirt can insulate the coals, allowing them to burn longer, starting wildfires when they are later exposed.
How to Start a Fire: Clean Up the Campfire
In a perfectly leave no trace world, all wood and coals would be burnt down to ash before you extinguish the fire. Do your best to burn the fire down as much as possible and avoid leaving large, charred pieces of wood. If you can, remove any large coals or wood from the firepit and take them with you. You can also crush coals until they are ash in the firepit.
Do not burn trash unless it can be fully consumed by the flames (paper, cardboard, etc.). If you throw tinfoil or cans into the fire, remove them as you clean up and leave the campsite.
If you built the firepit, deconstruct it and clean the area to the best to your ability.
How to Start a Fire: Safety Considerations
Extreme caution should be taken when you learn how to start a fire in the wild. There are dangers no matter where you build a fire, but there is a higher risk of wildfires when you are out hunting or camping. Injury can also occur if the fire is not handled appropriately.
If you are camping with children, be mindful of their interactions with the fire and teach them to start and tend a fire safety. Pets can also be in danger if allowed to get too close to the campfire. Most pets will have a healthy fear of fire, but not all. They may lay too close to the fire ring if they are cold, resulting in embers falling onto them.
Never leave a fire unattended, and always extinguish them entirely at night and when leaving the campsite. Avoid burning materials such as plastics that can emit toxins into the air. Other objects like fireworks should never be thrown into a fire either.
How to Start a Fire FAQs
How do you start a fire without a lighter?
Having access and knowledge regarding the essential elements and tools for starting a survival fire
will help you when you need to start a fire without a lighter. There are several ways to do this, including any of the five methods listed in the last question.
How do you start a fire out of nothing?
Hopefully, you’ll never have to start a fire out of nothing because you’ll be carrying the essentials for starting an emergency fire
. If you catch yourself without these tools, then you can use one of several friction fire methods, including bow drill, fire plow, pump drill, hand drill, as well as spark-based or magnification methods.
What is the safest way to start a fire?
Starting your fire in an established fire ring is the safest place to start a fire. Make sure the ring is free of debris or tall vegetation—whether that vegetation is alive or dead. Never use accelerants like gasoline or oil to start a fire. They can get out of hand quickly. Tent to your fire with tools to avoid burns, and always make sure your fire is completely out before leaving it unattended.

